


What is WebSockets?
WebSocket is a protocol that enables two-way communication between a client (typically a web browser) and a server over a single, long-lived connection. It allows real-time data exchange without the overhead of traditional request-response mechanisms. WebSocket is a network protocol, and it defines how data is transmitted between the client and server.
"WebSocket" and "WebSocket API" are often used interchangeably let us look at what is the relationship between these two.
What is WebSocket API?
The WebSocket API is a set of methods and events provided by web browsers as part of the JavaScript Web API. It allows developers to interact with WebSocket connections in their web applications. The WebSocket API includes methods for opening WebSocket connections, sending and receiving messages, handling events like connection opening and closing, and managing the WebSocket lifecycle in JavaScript code.
So, WebSocket is the underlying protocol that facilitates real-time communication, while the WebSocket API is the interface provided by web browsers that developers use to work with WebSocket connections in their web applications. They are closely related and work together to enable WebSocket functionality in web development.
Let's break down its key features and workings in more detail:
Two-Way Interactive Communication: Traditional web communication involves the client (usually a web browser) sending requests to a server and then waiting for a response. WebSockets, on the other hand, establish a full-duplex, two-way communication channel, allowing both the client and server to send data to each other independently and simultaneously. This means data can flow in both directions at the same time

Event-Driven Communication: With WebSockets, communication is event-driven. This means that instead of continuously polling the server for updates or waiting for responses after sending a request, the client and server can send messages or events to each other whenever new data is available or an event occurs. This significantly reduces the latency and improves efficiency compared to traditional request-response mechanisms.
Persistent Connection: Unlike traditional HTTP requests, which are stateless and require a new connection for each request, WebSockets establish a long-lived, persistent connection between the client and server. This connection remains open as long as both parties require it, allowing for real-time communication without the overhead of repeatedly establishing new connections.
Low Latency: WebSockets are designed for low-latency communication. Because the connection remains open, data can be transmitted immediately when it's available, resulting in near-instantaneous updates and responses. This makes WebSockets ideal for applications that require real-time interactions, such as chat, online gaming, and live data streaming.
Efficient Data Exchange: WebSockets use a binary or text-based protocol, making data exchange efficient and lightweight. The protocol is designed to minimize the overhead of message headers, which further reduces latency and bandwidth usage compared to traditional HTTP.
Cross-Origin Communication: WebSockets support cross-origin communication, meaning a web application hosted on one domain can establish WebSocket connections to a server on a different domain. This enables the development of distributed and interconnected web services.
Security: WebSocket connections can be secured using protocols like HTTPS, ensuring the confidentiality and integrity of data exchanged over the connection. Additionally, WebSocket connections can be authenticated and authorized to ensure that only authorized clients can access the server.
Now let us make a simple chat app using Socket.io
What is Socket.io?
Socket.IO is a JavaScript library that simplifies real-time, bidirectional communication between web clients (typically web browsers) and servers. It is often used in web applications that require real-time features like chat, live updates, notifications, and collaborative editing.
Now let's get started with our chat app.
Make sure you have NodeJS installed on your system.
Open Vs Code and make a folder with chat-app
Open the terminal and run npm init, it will create a package.json file inside the folder.

Now install Express using the command npm install express@4
Once it's installed we can create an index.js file that will set up our application.
After creating the index.js we will write the below code to make the http server listen on port 3000.
import express from 'express';
import { createServer } from 'node:http';

const app = express();
const server = createServer(app);

app.get('/', (req, res) => {
  res.send('<h1>Hello world</h1>');
});

server.listen(3000, () => {
  console.log('server running at http://localhost:3000');
});
Now run node index.js and point your browser to http://localhost:3000:
You will see

Up to this point in our index.js file, we've been using the res.send method to send an HTML string as a response. However, it would make our code quite messy if we were to include our entire application's HTML directly in the JavaScript file. To keep our code organized and maintainable, we're going to create a separate index.html file and serve its content instead.
Now we will use sendFile method instead of send
import express from 'express';
import { createServer } from 'node:http';

const app = express();
const server = createServer(app);

app.get('/', (req, res) => {
  res.sendFile(new URL('./index.html', import.meta.url).pathname);
});

server.listen(3000, () => {
  console.log('server running at http://localhost:3000');
});
write the following code to your html file.
<!DOCTYPE html>
<html>
  <head>
    <meta name="viewport" content="width=device-width,initial-scale=1.0">
    <title>Socket.IO chat</title>
    <style>
      body { margin: 0; padding-bottom: 3rem; font-family: -apple-system, BlinkMacSystemFont, "Segoe UI", Roboto, Helvetica, Arial, sans-serif; }

      #form { background: rgba(0, 0, 0, 0.15); padding: 0.25rem; position: fixed; bottom: 0; left: 0; right: 0; display: flex; height: 3rem; box-sizing: border-box; backdrop-filter: blur(10px); }
      #input { border: none; padding: 0 1rem; flex-grow: 1; border-radius: 2rem; margin: 0.25rem; }
      #input:focus { outline: none; }
      #form > button { background: #333; border: none; padding: 0 1rem; margin: 0.25rem; border-radius: 3px; outline: none; color: #fff; }

      #messages { list-style-type: none; margin: 0; padding: 0; }
      #messages > li { padding: 0.5rem 1rem; }
      #messages > li:nth-child(odd) { background: #efefef; }
    </style>
  </head>
  <body>
    <ul id="messages"></ul>
    <form id="form" action="">
      <input id="input" autocomplete="off" /><button>Send</button>
    </form>
  </body>
</html>
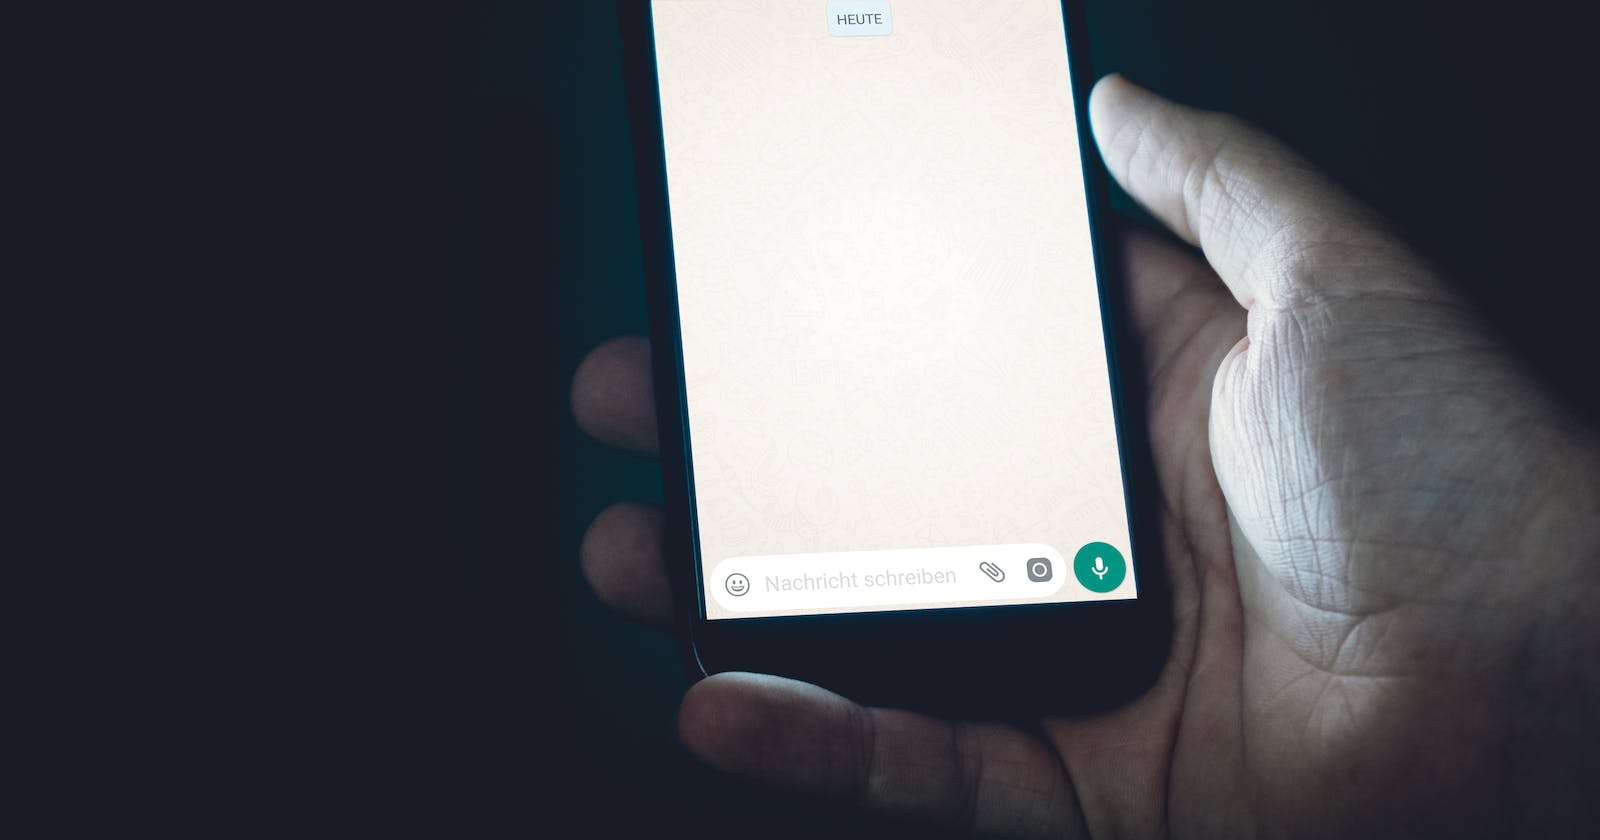
Now restart the process (by hitting Control+C and running node index.js again) and refresh the page it should look like this:

Now we have to integrate Socket.io
use npm install socket.io to install Socket.io in your app.
Socket.IO consists of two essential components:
Server Integration: It includes a server component that seamlessly integrates with or mounts onto the Node.js HTTP Server. This server-side component is provided by the
socket.iopackage.Browser-Side Client Library: On the client side (in web browsers), Socket.IO offers a client library that can be loaded. This client-side library is provided by the
socket.io-clientpackage.
In summary, Socket.IO comprises a server component for Node.js and a client library for web browsers, facilitating real-time communication between them.
Now edit the index.js file
import express from 'express';
import { createServer } from 'node:http';
import { Server } from 'socket.io';

const app = express();
const server = createServer(app);
const io = new Server(server);

app.get('/', (req, res) => {
  res.sendFile(new URL('./index.html', import.meta.url).pathname);
});

io.on('connection', (socket) => {
  console.log('a user connected');
});

server.listen(3000, () => {
  console.log('server running at http://localhost:3000');
});
Note that I create a fresh instance of Socket.IO by providing it with the server, which is the HTTP server object. Afterward, I set up a listener for the "connection" event to handle incoming sockets and print a log message to the console.
Now in index.html add the following snippet before the </body> (end body tag):
<script src="/socket.io/socket.io.js"></script>
<script>
  const socket = io();
</script>
This is all that's required to load the socket.io-client library. It exposes a global object named io and establishes a connection by making a GET request to the /socket.io/socket.io.js endpoint.
now restart the process (by hitting Control+C and running node index.js again) and then refresh the webpage you should see the console print “a user connected”.
Try opening several tabs, and you’ll see several messages.

Each socket also fires a special disconnect event: refresh the page several times to see this in action.
io.on('connection', (socket) => {
  console.log('a user connected');
  socket.on('disconnect', () => {
    console.log('user disconnected');
  });
});

The fundamental concept at the core of Socket.IO is the flexibility to transmit and receive events of your choice, along with any data you need. It's versatile enough to handle objects that can be encoded as JSON and even supports binary data.
Now, let's configure it so that when a user enters a message, the server captures it as a "chat message" event. Below is the modified script section in the index.html file:
<script src="/socket.io/socket.io.js"></script>
<script>
  const socket = io();

  const form = document.getElementById('form');
  const input = document.getElementById('input');

  form.addEventListener('submit', (e) => {
    e.preventDefault();
    if (input.value) {
      socket.emit('chat message', input.value);
      input.value = '';
    }
  });
</script>
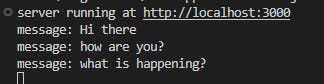
And in index.js we print out the chat message event:
io.on('connection', (socket) => {
  socket.on('chat message', (msg) => {
    console.log('message: ' + msg);
  });
});
Our next objective is to broadcast the event from the server to all other users.
To accomplish this, Socket.IO provides us with the io.emit() method, which allows us to send an event to everyone.
// this will emit the event to all connected sockets
io.emit('some event', {
  someProperty: 'some value',
  otherProperty: 'other value'
});
If you want to send a message to everyone except for a certain emitting socket, we have the broadcast flag for emitting from that socket:
io.on('connection', (socket) => {
  socket.broadcast.emit('hi');
});
In this case, for the sake of simplicity, we’ll send the message to everyone, including the sender.
io.on('connection', (socket) => {
  socket.on('chat message', (msg) => {
    io.emit('chat message', msg);
  });
});
On the client side, when we intercept a "chat message" event, we'll incorporate it into the webpage.
<script>
    const socket = io();

    const form = document.getElementById('form');
    const input = document.getElementById('input');
    const messages = document.getElementById('messages');

    form.addEventListener('submit', (e) => {
      e.preventDefault();
      if (input.value) {
        socket.emit('chat message', input.value);
        input.value = '';
      }
    });

    socket.on('chat message', (msg) => {
      const item = document.createElement('li');
      item.textContent = msg;
      messages.appendChild(item);
      window.scrollTo(0, document.body.scrollHeight);
    });
  </script>
Now this will complete our simple chat app using Socket.io
Here is what it looks like
